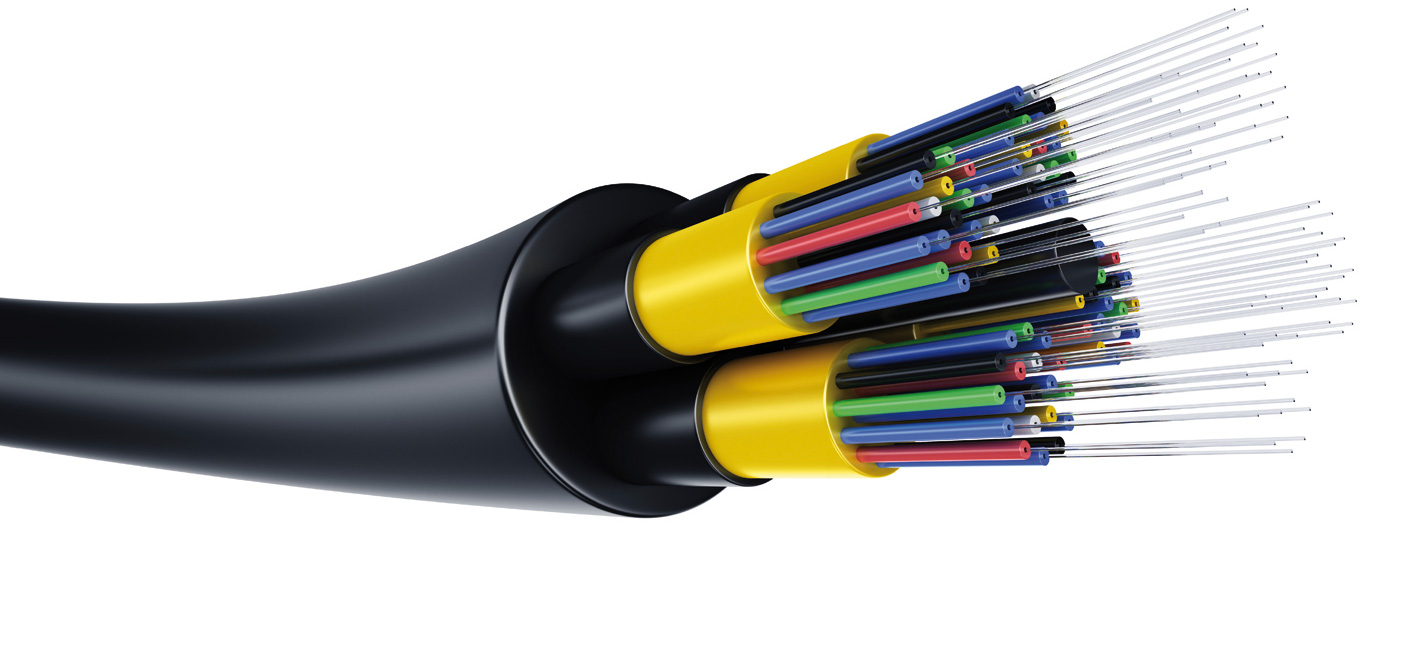
The production of optical fibers is a single process, some manufacturers have specialized in. The following article focusses on the manufacturing of optical fiber cables with a special focus on the measuring technique used for process optimization and quality assurance.
During the production of optical fiber cables, one important aspect is the protection of the fiber inside the cable and to assure that it withstands the strains in terms of moisture and traction for the long term. Typically, optical fiber cables receive an insulation layer made from polyethylene (PE) as an outer protective coating. For this cable type, the measurement of the wall thickness of the outer insulation layer is typically a must, especially with regard to the eccentricity of the insulation layer. The measurement of the diameter is naturally also of importance, however, a diameter measurement alone is generally not sufficient enough.
The applied measuring technique for the measuring of the diameter, wall thickness and eccentricity of optical fiber cables, also has to be applicable for “loose tube“, “fiber ribbon“, “loosely bundled“ and “tight buffered“ cables. Furthermore, the measuring technique should be independent of the shielding material under the outer coating.
X-ray technology
In the last decades, inductive and optical measuring principles, as applied by the CENTERVIEW 8010 und 8025, have proven their effectiveness for the measuring of the eccentricity of cables with an electrical conductor made from copper or aluminum. For larger dimensions, measuring by means of X-ray is a process offering a continuous quality control during production. The applied X-ray technology is rather convincing as no calibration is required for different insulation materials or ambient conditions. SIKORA’s experience in the field of this measuring technique goes back over 20 years. During this time, nearly 2,000 extrusion lines have been equipped with X-ray measuring devices.
The devices of the X-RAY 6000 series are also ideally suited for the measurement of optical fiber cables. The diameter, minimum wall thickness, eccentricity and ovality are directly defined from the X-ray image. The recording of the measuring values are carried out by an X-ray sensitive image sensor within fractions of a second. The measuring technique is particularly interesting with regard to the savings potential, which evolves from the integration into the continuous line control at the sheathing of the optical fiber cable. X-ray technology does not need any calibration of the measuring system, which means that incorrect operation is practically impossible. The operation of these devices meets the highest international standards and is absolutely safe for the operator as well as the environment.
When the eccentricity of the wall thickness of the insulation layer is not critical and the focus lies on the compliance with the specified average wall thickness, the diameter of the optical fiber cables is measured online before and after the extruder crosshead, and the average wall thickness is defined by the difference of the measured values. These measuring values are then the basis for an automatic control. The demands with regard to precision and reliability of the applied measuring technique are accordingly high. SIKORA has set standards in this field for decades. Generally the line speed is being controlled for a singular insulation layer and the extruder rpm for multi-layer extrusion. For an optimum use of resources, an automatic allowance of material shrinkage, resulting from the cooling of the insulation layer, is recommended.
Usability
The applied measuring and control technology can only be successful when it receives a high acceptance by the operator. This implies that the workload of the operator is lightened and that he can concentrate on other tasks. Already at the point of conception of the measuring and control technology, the focus lies on “usability”. The aim has to be the clear visualization of the required data and thus the creation of a more structured process.
Documentation
A function which should not be overlooked is the documentation of the production process. A length-related recording of the measuring values, for example in form of a reel and batch protocol, is a standard feature today. Additionally, the chronological data storage as part of quality assurance is a factor that should not be underestimated. Today there is no shortage of memory space due to modern technology, but it requires adapted structures, so that the data can be retrieved even after years.
Conclusion
Today the production of optical fiber cables under the aspect of reliability, productivity, process repeatability and hence, quality assurance is supported by a broad range of measuring and control technology. SIKORA supplies the suitable technique and offers national and international competence in this segment for consulting and service.


