SIKORA measuring and control systems in the age of Industry 4.0
The vision of autonomous manufacturing has existed for a long time. Due to technical advancements and exponentially increasing processing power, it finally seems to be within reach today. Intelligent measuring devices continuously measure and transmit measured values as well as information about the device status in real time, which enables direct intervention in the production process. However, what are the opportunities for hose, tube and pipe manufacturers?
Technical progress enables automation
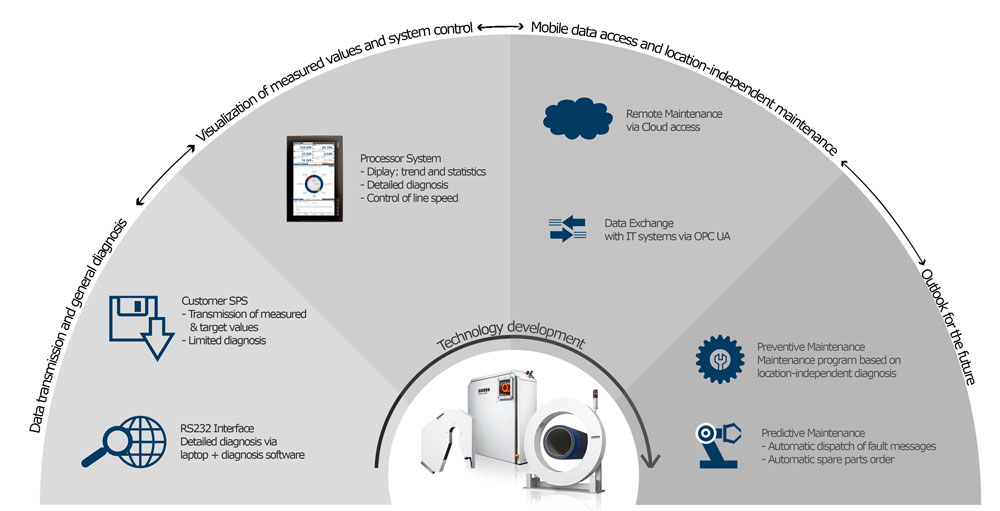
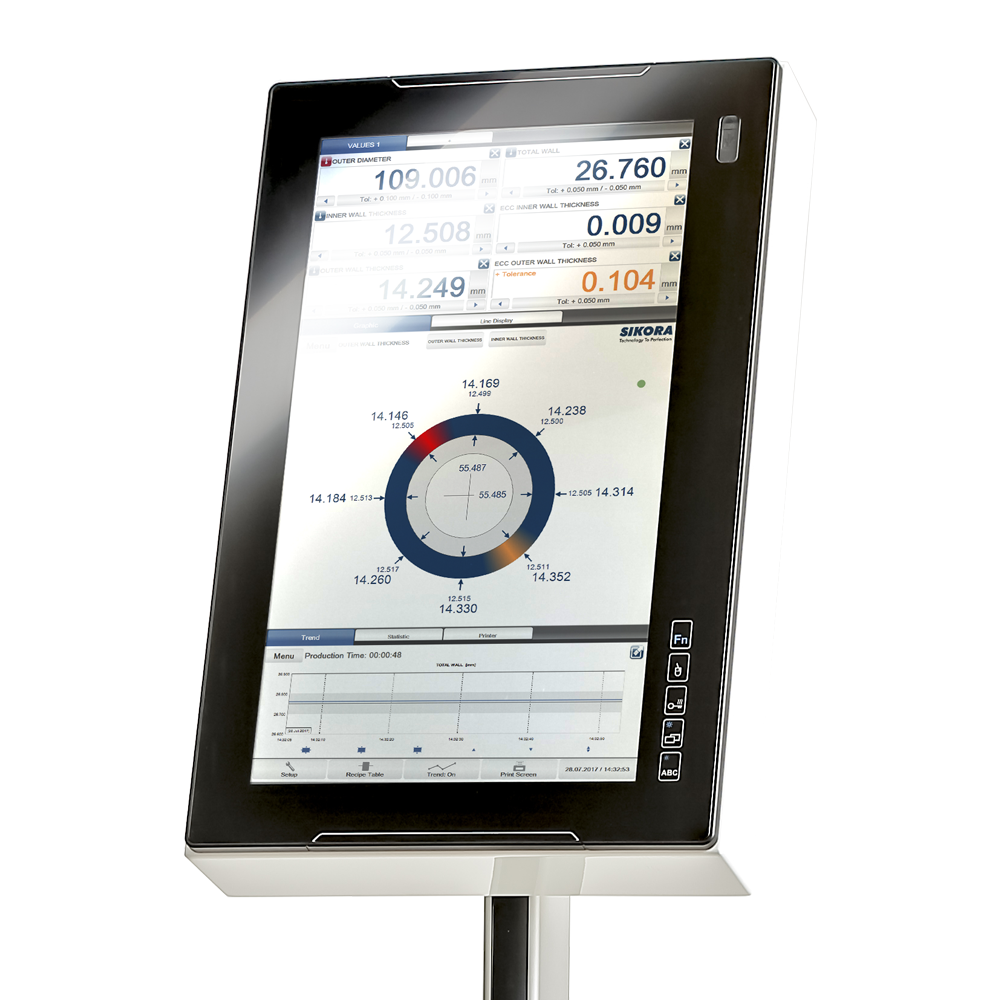
Until the 1990s, measured values were transmitted analogously to the central plant computer in an extrusion line. Limited processing performance of the PLC meant that only simple control and regulation tasks were possible, such as measuring the average diameter or the average wall thickness. In the past 30 years, however, standardized fast industrial fieldbus protocols and rapidly increasing processing performance allowed more decentralized solutions. Only due to this, it was possible to develop more complex measuring devices like the X-ray measuring system X-RAY 6000 PRO. The device processes a multitude of measured values, for example, for minimum wall thickness and eccentricity, already in the measuring device itself and it allows for an improved automatic control in combination with an ECOCONTROL processor system (see also page 04).
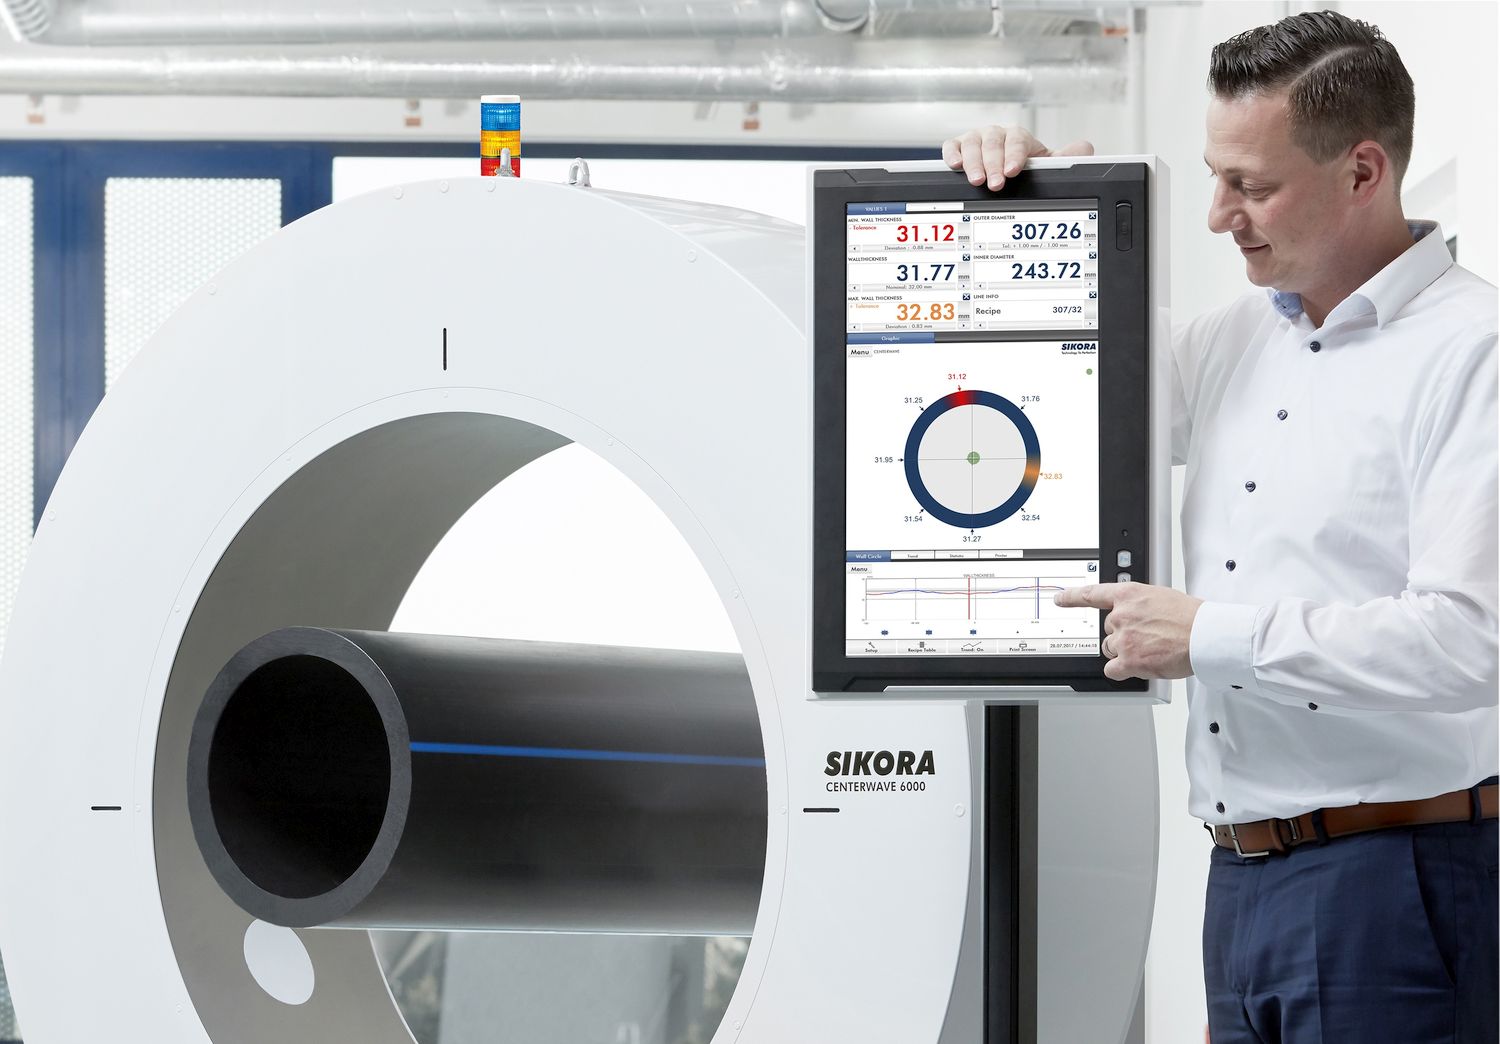
Another example is the CENTERWAVE 6000, which measures the wall thickness over 360° of the product circumference by means of a rotating sensor. In addition, there are further developments in IT, in particular Ethernet-based broadband networks. This allows larger volumes of data to be conveniently transferred to the PLC and overlying IT layers, for example, via OPC UA. All of this enables manufacturers to optimize their production processes, to make considerable savings in materials and costs, and to ensure reproducible quality of the end product.
Preventive maintenance
Also, in the areas of diagnosis, service and maintenance, the interaction of SIKORA measuring devices and processor systems offers hose, tube and pipe manufacturers many advantages. All information collected during the measurement flows into a SIKORA diagnostic program, which can be started, for example, by a SIKORA Service Technician via remote access on the ECOCONTROL 6000 or on the mobile industrial tablet SAM. Thus, he can draw conclusions on the device status and possible error causes at an early stage and react to them – for example, if a malfunction message occurs due to a dirty LASER gauge head. In addition, the user receives recommendations regarding device maintenance, for example, when wearing components should be replaced as a preventive measure. Lengthy service calls with costly error diagnosis caused by the sudden failure of a measuring device are a thing of the past. Instead, device maintenance and other service calls can now be planned in advance, independent of location, and carried out at optimized times.
When will we have achieved fully autonomous manufacturing and what will it look like? Forecasts and expert opinions differ on this. Regardless, however, it is clear that Industry 4.0-capable intelligent measuring and control systems, for example, from SIKORA pave the way for a future-oriented production.
