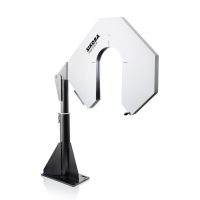
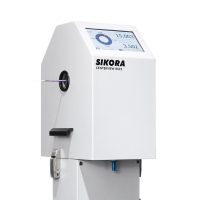
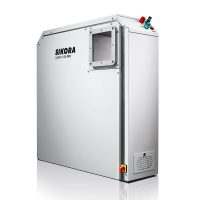
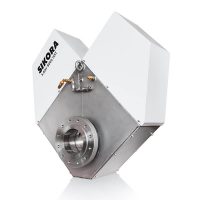
Measurement of the diameter of wires, cables, optical fibers, hoses, tubes and other round products
A continuous control of the diameter has been a necessary standard in production lines for round extruded products for decades:
- Optical fibers and fiber optic cables
- Plastic pipes, composite pipes and metal pipes
- Wire, cables, data cables, installation cables
- Rubber tubes, medical tubes and many others
In order to meet the increasing quality standards and an optimal material consumption at the same time, requires an efficient production. Furthermore, every micrometer of saved raw material preserves the increasingly short resources. The choice of the right measuring technology is of economic advantage.
Former mechanical sampling inspections have been replaced by contact-free inline measuring procedures at every line position. State-of-the-art measuring devices for quality control from SIKORA, such as the LASER Series 2000 and LASER PRO, operate with a combination of impulsive controlled laser light sources and CCD-line technology without moving parts and, therefore, without mechanical wear and tear.
Diameter measuring procedure based on diffraction
The measuring principle of the SIKORA LASER Series 2000 and LASER PRO is based on diffraction analysis. A fan-shaped laser beam is directed onto a high-resolution CCD line. On the line sensor, a shadow image of the product emerges. Where it transitions from dark to light, intensity fluctuations occur, resulting from the diffraction of light on the surfaces of the product.
Based on the theory of the diffraction of light, the tangents of the left and right geometrical shadow edges are calculated from the information of the intensity fluctuations. Together with the tangents of the measuring plane, which is offset by 90 degrees, four tangents result that touch the product.
Thus, the diameter is determined independent of its position in the measuring field with an accuracy and repeatability in the submicrometer range.
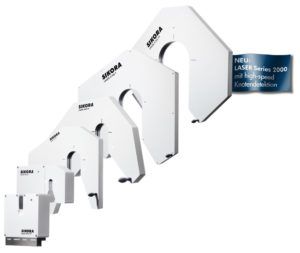
Efficient 2 and 3-axes diameter measurement
Highest precision, reliability and continuous functionality are the outstanding characteristics of the 2 and 3-axes gauge heads of the SIKORA LASER Series 2000 XY for the diameter range of 0.05 to 500 mm. Due to their functional design, the devices can be easily integrated at any position in the production line.
The 3-axes-measurment of the LASER Series 2000 T, additionally enables a precise ovality measurement and is used, for example, for the production of composite pipes, which require a high precision fit.
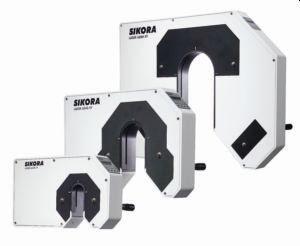
High-End 2-axes diameter measurement
SIKORA‘s LASER PRO for high-end diameter measurement in the field of NDT (Non Destructive Testing) additionally offers features like an integrated lump detection function. A measuring rate of up to 5,000 measurements per second and per axis as well as WI-FI are further benefits for industry 4.0.
Highest possible accuracy
Both product lines measure contactless with an extremely short exposure time and reach very high single value precision as well as repeatability, which are decisive for the determination of the standard deviation of the production process. Several thousand measurements per axis and second for product diameters of 0.05 up to 500 mm are possible.
SIKORA measuring devices with the CCD-line sensor procedure detect the diameter of both transparent as well as opaque products in two or three planes and work – independent of the used product – accurately at all times. They combine industrial design with highest precision and reliability, and thus, ensure an optimal and efficient line control with highest possible availabilities.
Technologies for further measuring sizes
In addition to the classic diameter gauge heads on the basis of laser technology, SIKORA’s portfolio comprises sophisticated systems that also reliably measure – besides the diameter – the wall thickness, ovality and eccentricity. This includes the CENTERVIEW 8000, the X-RAY 6000 PRO and the X-RAY 8000 ADVANCED/NXT. The systems are based on optical, inductive as well as X-ray measuring procedure.
Benefits of the diameter measurement with SIKORA
- No calibration
- Availability: 99.8 %
- Industry 4.0: diverse interface options
- Highest precision for optimal product quality
- Reliable SMD-technology, no moving parts
- Non-contact CCD-line technology combined with impulsive controlled laser light sources
- Complete measuring data processing already in the gauge head, including trend, statistic and calculation of the standard deviation and FFT

