Measurement of roundness of hoses and tubes, wires, cables, and other round products
SIKORA’s technologies cover all measuring functions which are of importance for manufacturers of round extruded products, like wires and cables, hoses and tubes as well as optical fibers and fiber optical cables, for quality control – as is the measurement of ovality.
The precise measurement of ovality is a decisive criterion for the quality of the end products. Hoses, tubes as well as cables must be accurately joined with the end components, or with each other, by connecting elements, for example, fittings or cable joints. This is ensured by an immaculate roundness as well as perfect concentricity and wall thickness of the products.
Especially composite pipes like multilayer composite pipes require a high precision fit. In sanitary or heating installations appropriate plug-in, press or sliding sleeve fittings are being used which are all regulated by DIN, EN or ANSI standards and only allow for relatively small tolerance deviations. Each charge outside the norm is an expensive faulty production which may result in further costs. A continuous quality assurance is paramount.
Ovality measurement in three planes via LASER technology
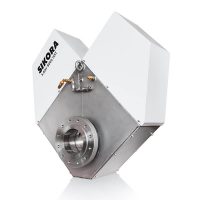
With the measuring devices of the LASER Series 2000 T, SIKORA offers its customers innovative 3-axes measuring heads for a contactless diameter and ovality measurement. Especially the ovality measurement during the extrusion process is the outstanding feature of the gauge heads. With three measuring axes (six tangents on the product) the min./max. ovality value as well as the alignment of the oval are precisely determined.
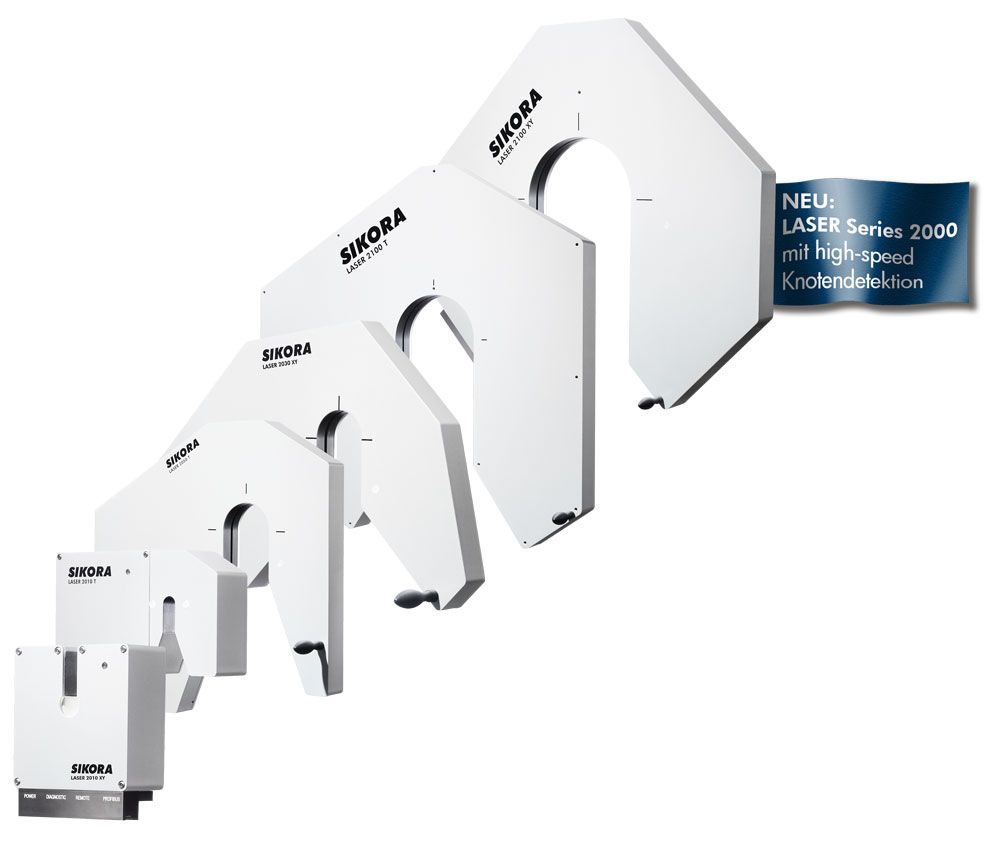
As with the classic diameter measurement, the technical basis of the measuring systems is an innovative laser-technology with CCD-lines. Integrated in the gauge head are three laser diodes and three line-sensors arranged on opposite sites. The evaluation is also done by means of diffraction analysis.
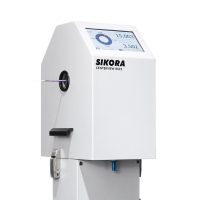
Naturally, a logging is also possible. The processing of measuring data is already done in the measuring head including trend, statistic and calculation of the standard deviation and FFT. The continuous logging can be done via a device of the ECOCONTROL series.
Alternative technologies for ovality measurement
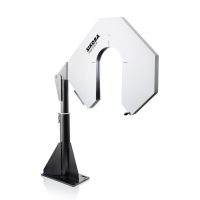
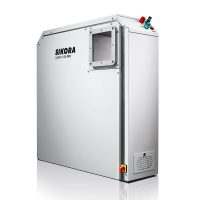
Furthermore, SIKORA offers alternative technologies, such as X-ray (X-RAY 6000 PRO, X-RAY 8000 ADVANCED) and inductive-optical methods (CENTERVIEW 8000). In addition to the ovality, they also measure accurately the diameter, wall thickness and eccentricity of the products during the running extrusion process. Moreover, the measuring devices of the LASER PRO are naturally able to determine precisely the roundness of the surface.
Benefits of the contact-free inline ovality measurement with SIKORA
A continuous ovality measurement is relevant for many applications where the adherence to dimensional tolerances is a crucial parameter for later processing. Thereby, not material savings are in focus but the guarantee of providing a product with perfect concentricity and fit.
- Logging
- Quality assurance
- Compliance with tolerances
- Assurance of perfect roundness
- Avoidance of faulty products

