Sample test sheets versus automated light table
How do producers and compounders guarantee the optical quality of their plastics and what are the latest developments on the market?
An optical quality check via sample test sheets for plastic raw materials or plastic compounds and masterbatches is common after production. The sheets are made in an injection molding process and visually checked on light tables for contamination. The examiner counts the quantity and size of the detected black specks. The values are used for fish-eyes’ index respectively black speck determination. Thereby, the contamination area is determined on the inspection area and evaluated.
Following a brief example:
On a sample sheet of the size of 100 x 100 mm (3.94 x 3.94”), 5 contaminants with a total size of 0.42 mm² (.00065 inch2) are detected. Projected to a sheet of 1 m² (1,550 inch2), this corresponds to a size of 42 mm² (.065 inch2). As for the inspected material an area of 40 mm² (.062 inch2) is the limit, in this case, the material has not passed the inspection.
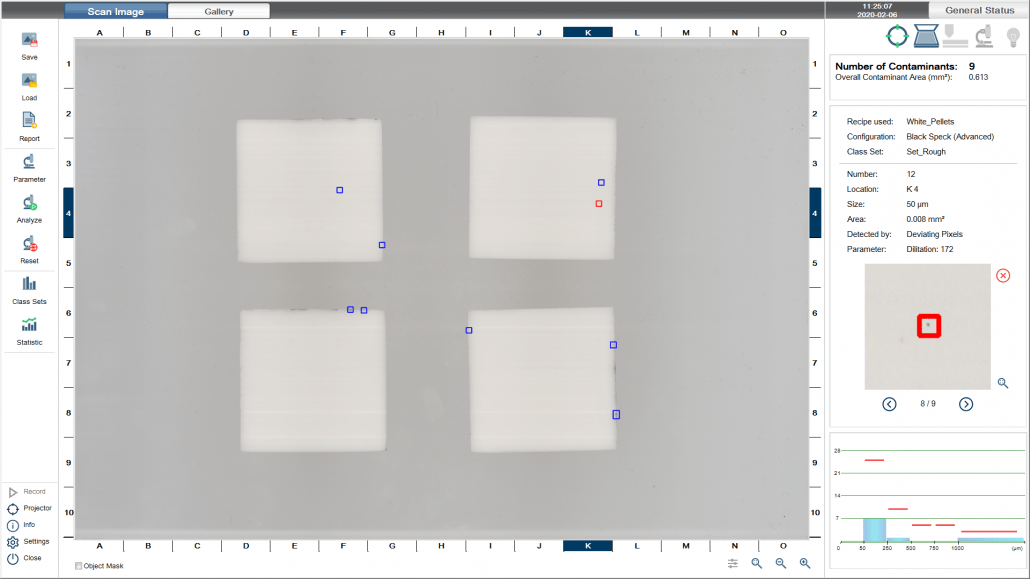
With the PURITY CONCEPT V, SIKORA has developed an alternative technology that eliminates the need for visual inspection by the inspector. Within 30 seconds, the sample test sheet is inspected by a color camera on a sample tray and contamination from 50 µm is detected. Simultaneously, the quantity, size and area of the contaminants can be analyzed with the PURITY LAB PRO software. With these values, the fish-eyes index is determined.
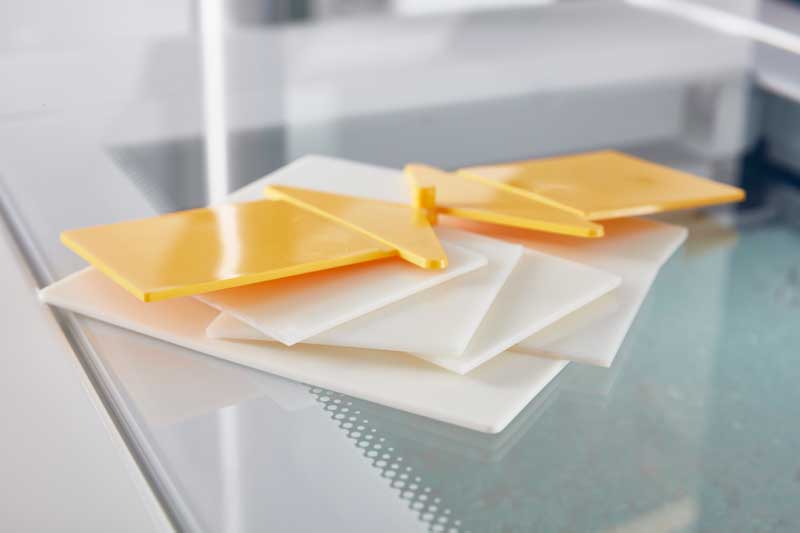
Typical sample test sheets
Offline inspection via the PURITY CONCEPT V is carried out without delay. Consequently, the operator receives information immediately about the produced quality. When deviations occur, the extruder parameter can be changed promptly, the production stopped or bundles can be disabled. In contrary, the visual control via sample sheets by the inspector is usually done with a delay of several hours due to the production process.
In certain cases, where quality documentation with sample test sheets is not required, the control of the pellets is done directly by the PURITY CONCEPT V, bypassing the sample test sheet. With the PURITY CONCEPT V, the pellets themselves are inspected in that case. Therefore, there is no risk of an error entry due to wrong inspection molding parameters or additional burning on the extruder screw or barrel.
The automated analyses of the PURITY CONCEPT V are reproducible. The recorded images can be read and analyzed at any time. Therefore, the PURITY CONCEPT V is an attractive complement or even an alternative to the established quality inspection via sample test sheets.
