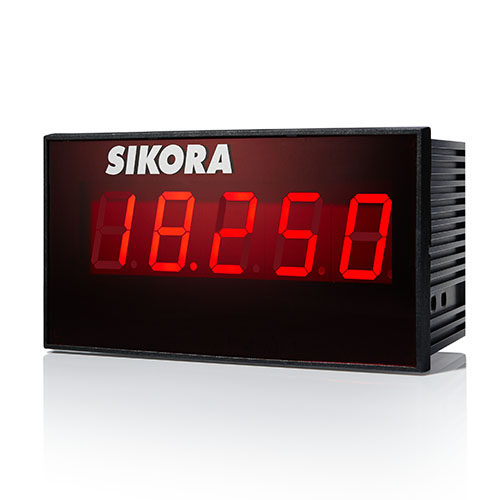
DISPLAY 2000

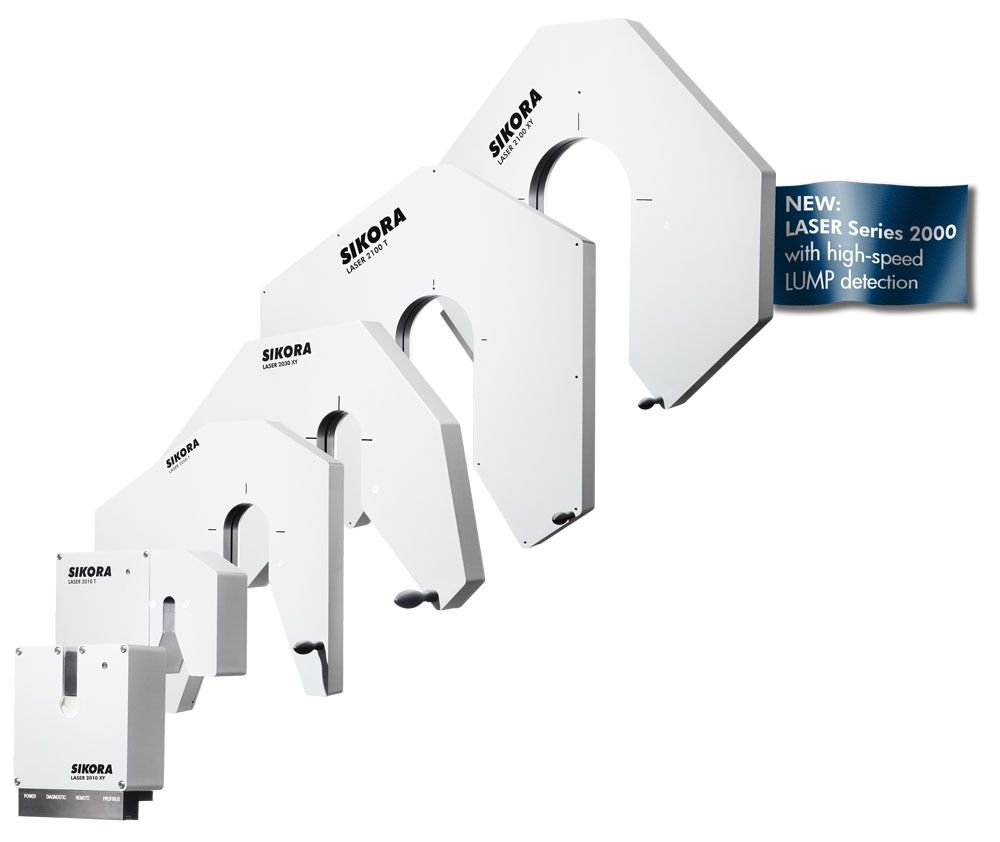
A high-quality laser technology with a unique non-contact and non-destructive measuring principle that inspires. For the measurement of the diameter the ideal system for quality assurance, process optimization and stability.

New: For the measurement of the diameter as well as additional lump detection in a single device the LASER LUMP 2000 T is available.
For more information please download our product flyer or contact us diretly at sales@sikora.net
With the LASER Series 2000 XY, SIKORA offers gauge heads for a precise diameter measurement in two planes. The diameter is calculated by diffraction analysis directly from the shadow image.
Power Supply:
100 – 240 V AC ± 10 %, 50/60 Hz, 30 VA
Interfaces:
RS485, RS232; optionally analog interface, Profibus-DP or Profinet IO, alternatively industrial field busses such as CANopen, EtherNet/IP, DeviceNET, OPC UA
| LASER 2005 XY | LASER 2010 XY | LASER 2030 XY | LASER 2050 XY | LASER 2100 XY | LASER 2200 XY | LASER 2300 XY | |
| Product Diameter | 0.05 - 5 mm | 0.2 - 10 mm | 0.2 - 25 mm | 0.5 - 50 mm | 1,0 - 100 mm | 5,0 - 190 mm | 50 - 300 mm |
| Accuracy | ± 0.25 µm | ± 0.5 µm | ± 1.0 µm | ± 2.5 µm | ± 5.0 µm | ± 10 µm | ± 20 µm |
| Repeatability | ± 0.1 µm | ± 0.1 µm | ± 0.2 µm | ± 0.5 µm | ± 1.0 µm | ± 2.0 µm | ± 4.0 µm |
| Exposure Time | 0.2 µsec | 0.2 µsec | 0.2 µsec | 0.2 µsec | 0.2 µsec | 0.2 µsec | 0.2 µsec |
| Measuring Rate | 1,200/sec/axis | 500/sec/axis | 500/sec/axis | 500/sec/axis | 500/sec/axis | 500/sec/axis | 500/sec/axis |
| Dimensions (W x H x D) | 140 x 140 x 63 mm | 140 x 140 x 62 mm | 468 x 285 x 37 mm | 468 x 285 x 37 mm | 714 x 633 x 55 mm | 714 x 633 x 55 mm | 920 x 920 x 133 mm |
With the LASER Series 2000 T, SIKORA offers 3-axis gauge heads for a precise diameter measurement including the minimum and maximum values. The focus is on the measurement of the ovality of extruded prodcuts. The oval is defined by 5 tangents. Accordingly, with 3 measuring axis and 6 tangents, not only the minimum and maximum value but also the orientation of the oval are determined.
Power Supply:
100 – 240 V AC ± 10 %, 50/60 Hz, 30 VA
Interfaces:
RS485, RS232; optionally analog interface, Profibus-DP or Profinet IO, alternatively industrial field busses such as CANopen, EtherNet/IP, DeviceNET, OPC UA
| LASER 2010 T | LASER 2025 T | LASER 2050 T | LASER 2100 T | |
| Product Diameter | 0.2 - 10 mm | 0.2 - 25 mm | 0.5 - 50 mm | 1,0 - 100 mm |
| Accuracy | ± 0.5 µm | ± 1.0 µm | ± 2.5 µm | ± 5.0 µm |
| Repeatability | ± 0.1 µm | ± 0.2 µm | ± 0.5 µm | ± 1.0 µm |
| Exposure Time | 0.2 µsec | 0.2 µsec | 0.2 µsec | 0.2 µsec |
| Measuring Rate | 500/sec/axis | 500/sec/axis | 1,000/sec/axis | 500/sec/axis |
| Dimensions (W x H x D) | 250 x 182 x 62.5 mm | 360 x 290 x 38.5 mm | 472 x 496 x 41 mm | 635 x 621 x 53 mm |
For the online measurement of double, triple or multi-wire flat cables as well as for round conductors or flat hose profiles, SIKORA offers the LASER Series 2000 F/R for a constant and precise measurement of the width and height of the measurement object respectively the diameter of round products. Fascinating are the precision of the width and height measurement as well as the measurement of flat products even if they are twisted up to ± 15 degrees.
Power Supply:
100 – 240 V AC ± 10 %, 50/60 Hz, 30 VA
Interfaces:
RS485, RS232; optionally analog interface, Profibus-DP or Profinet IO, alternatively industrial field busses such as CANopen, EtherNet/IP, DeviceNET, OPC UA
| LASER 2030 F/R | LASER 2050 F/R | |
| Product Diameter | 0.2 - 25 mm (round), 0.5 - 20 mm (flat: width), 0.25 - 10 mm (flat: thickness) | 0.5 - 50 mm (round), 1.0 - 50 mm (flat: width), 0.5 - 25 mm (flat: thickness) |
| Accuracy | round: ± 1.0 µm profiles: ± 5.0 µm | round: ± 2.5 µm profiles: ± 10 µm |
| Exposure Time | 0.2 µsec | 0.2 µsec |
| Measuring Rate | 500/sec/axis | 500/sec/axis |
| Dimensions (W x H x D) | 481 x 305 x 36 mm | 481 x 350 x 36 mm |
The LASER Series 2000 S/R is an intelligent technology for the measurement of the height of straight sector conductors. Even if the conductor turns up to ± 15 degrees the height is precisely defined. Fascinating is the fact that the gauge head does not need to be swiveled.
Power Supply:
100 – 240 V AC ± 10 %, 50/60 Hz, 30 VA
Interfaces:
RS485, RS232; optionally analog interface, Profibus-DP or Profinet IO, alternatively industrial field busses such as CANopen, EtherNet/IP, DeviceNET, OPC UA
| LASER 2050 S/R | LASER 2100 S/R | |
| Product Diameter | 1.0 - 35 mm (sector), 0.5 - 50 mm (round) | 1.0 - 35 mm (sector), 1.0 - 100 mm (round) |
| Accuracy | ± 20 µm (sector), ± 2.5 µm (round) | ± 20 µm (sector), ± 5.0 µm (round) |
| Repeatability | ± 4.0 µm (sector), ± 0.5 µm (round) | ± 4.0 µm (sector), ± 1.0 µm (round) |
| Exposure Time | 0.2 µsec | 0.2 µsec |
| Measuring Rate | 500/sec/axis | 500/sec/axis |
| Dimensions (W x H x D) | 435 x 385 x 41 mm | 635 x 621 x 93 mm |